If you're using Fly Predators, you're already on the right path toward natural, effective fly control. But are you getting the most out them?
Create Release Stations to Help Fly Predators Hatch
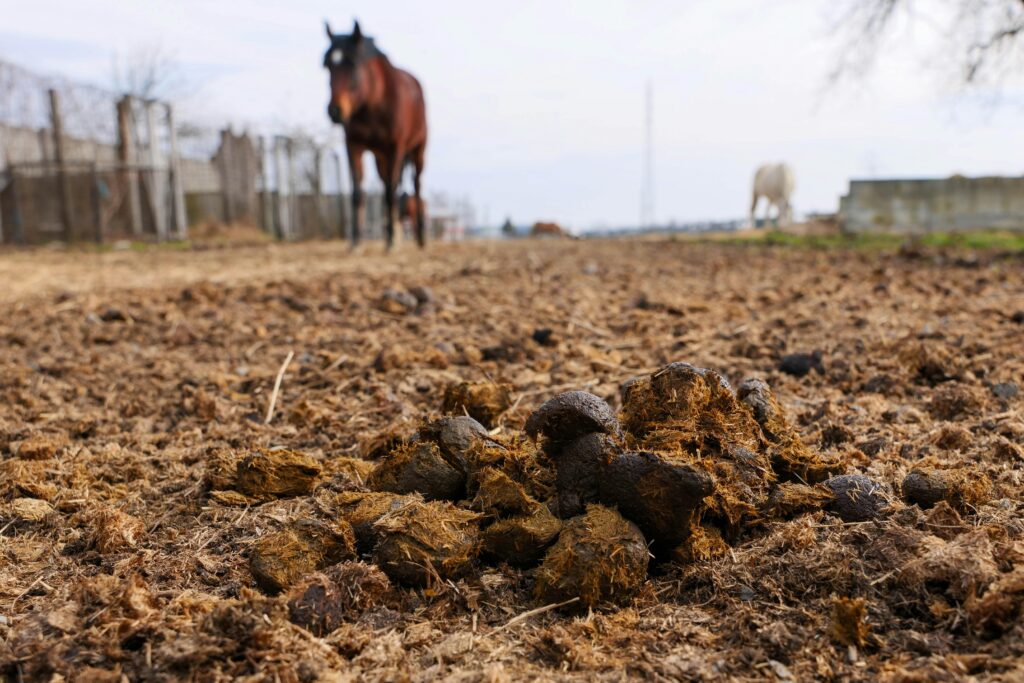
Keeping flies under control is a constant battle for horse owners, livestock managers, and anyone dealing with manure or decaying organic matter. If you’re using Fly Predators, you’re already on the right path toward natural, effective fly control. But are you getting the most out them? Keep reading for tips to maximize your Fly Predator performance.
The most effective way to use Fly Predators is to distribute small pinches in LOTS of areas around your farm, adding a few Fly Predators near any decaying matter that has even a remote chance of breeding flies. However, in circumstances where Fly Predators have a high chance of being eaten such as near free-range poultry, they made need some extra protection.
One simple yet powerful way to boost Fly Predator success in areas where they may become a tasty snack is to create Fly Predator release stations. These small, protective stations safeguard your Fly Predators from being eaten by birds, trampled by animals, or lost in manure. Setting up strategic release points ensures your Fly Predators have the best chance to hatch, find fly pupae, and stop flies before they emerge.
Here’s a step-by-step guide to setting up Fly Predator release stations to optimize their effectiveness.
Why Use Fly Predator Release Stations?
Fly Predators are tiny, beneficial wasps that seek out and destroy fly pupae before they hatch into adult flies. However, they need a safe place to emerge before they can start working. Without protection, they can fall victim to birds, ground beetles, or simply get lost in overly wet or messy areas.
By using release stations, you:
Protect Fly Predators from predators and harsh weather
Ensure even distribution across fly breeding areas
Maximize the effectiveness of your Fly Predator program
How to Build a Fly Predator Release Station
You don’t need anything fancy—just a simple container that keeps your Fly Predators protected while allowing them to escape once they hatch. More healthy Fly Predators means better Fly Predator performance!
What You’ll Need:
Breathable container – Options include:
Plastic mesh cylinders
Flower pots with drainage holes
Plastic tubs with holes (at least 1/16-inch diameter)
Mesh bags or breathable pouches
PVC pieces (optional) for a more durable station
Scissors to cut mesh material
Snap or clip to mount or hang your container
Suitable location to mount or hang your container – Choose:
Fence posts, corral posts, or stable walls
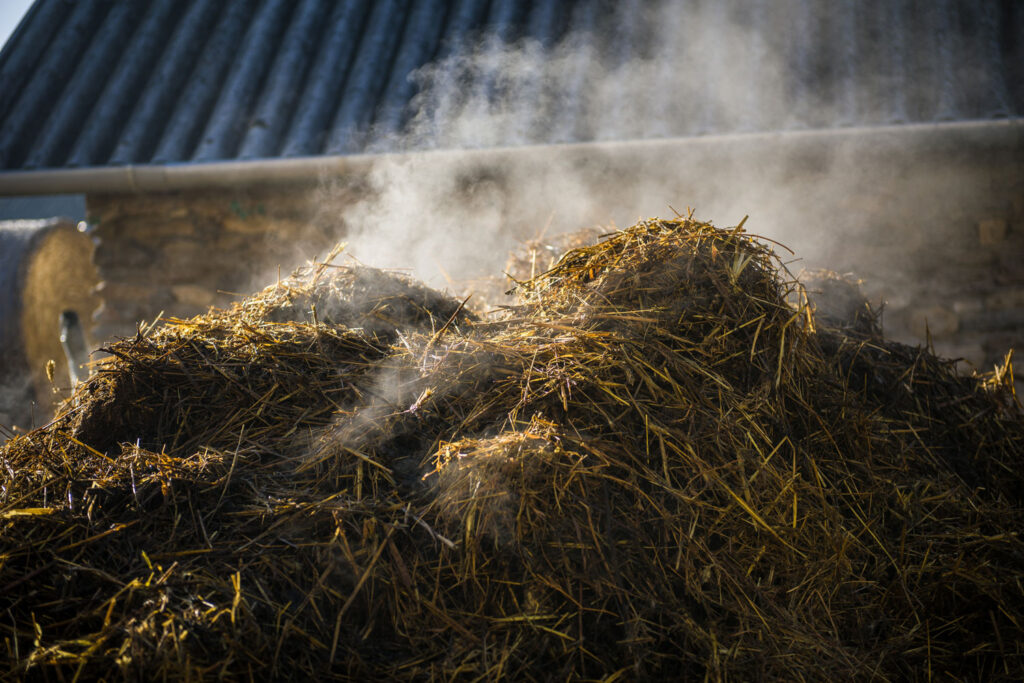
Areas near manure piles (but not directly inside them)
Barn rafters (away from direct water flow)
Fly Predators – When your shipment arrives, wait for them to start hatching before placing them in the station.
Place every 50 to 100 feet around manure piles, paddocks, stables, and near (but not in) damp fly breeding areas.
Prioritize barns, kennels, coops, feedlots, and stalls where fly breeding is most active.
Keep away from direct sunlight, standing water, and heavy foot traffic.
Prepare Your Fly Predators
Store them in a warm place (70-80°F) until they start hatching.
Check for emergence by looking for tiny, ant-sized wasps moving inside the bag (typically within 7-14 days).
Fill Your Release Station
Open the station and place a tablespoon or two of Fly Predators inside. Make sure you include straw, grass, or wood shavings – this provides shelter for the Fly Predators and prevents them from being eaten by birds or washed away by rain.
Secure the container and ensure the Fly Predator exit holes are unobstructed.
Inspect fly pupae – Dark brown pupae with small exit holes mean Fly Predators have hatched successfully.
Track fly populations – Use sticky fly traps near fly-heavy areas and monitor changes over time.
Observe manure conditions – Reduced fly activity around manure piles is a good sign your Fly Predators are doing their job!
Final Tips for Success
Never place Fly Predators in direct sunlight or wet areas – They need a dry, protected environment to emerge.
Avoid chemical sprays within 48 hours of release – Pesticides can harm Fly Predators.
Be consistent – Fly control is an ongoing process, and regular releases ensure continued effectiveness.
By following these simple steps, you can maximize your Fly Predator performance, keep fly populations in check, and create a more comfortable environment for your animals.
Need more Fly Predators or want to refine your fly control strategy?
Visit Spalding Labs for expert advice and proven solutions!
SHARE THIS ARTICLE
Need more Fly Predators or want to refine your fly control strategy?
Visit Spalding Labs for expert advice and proven solutions!